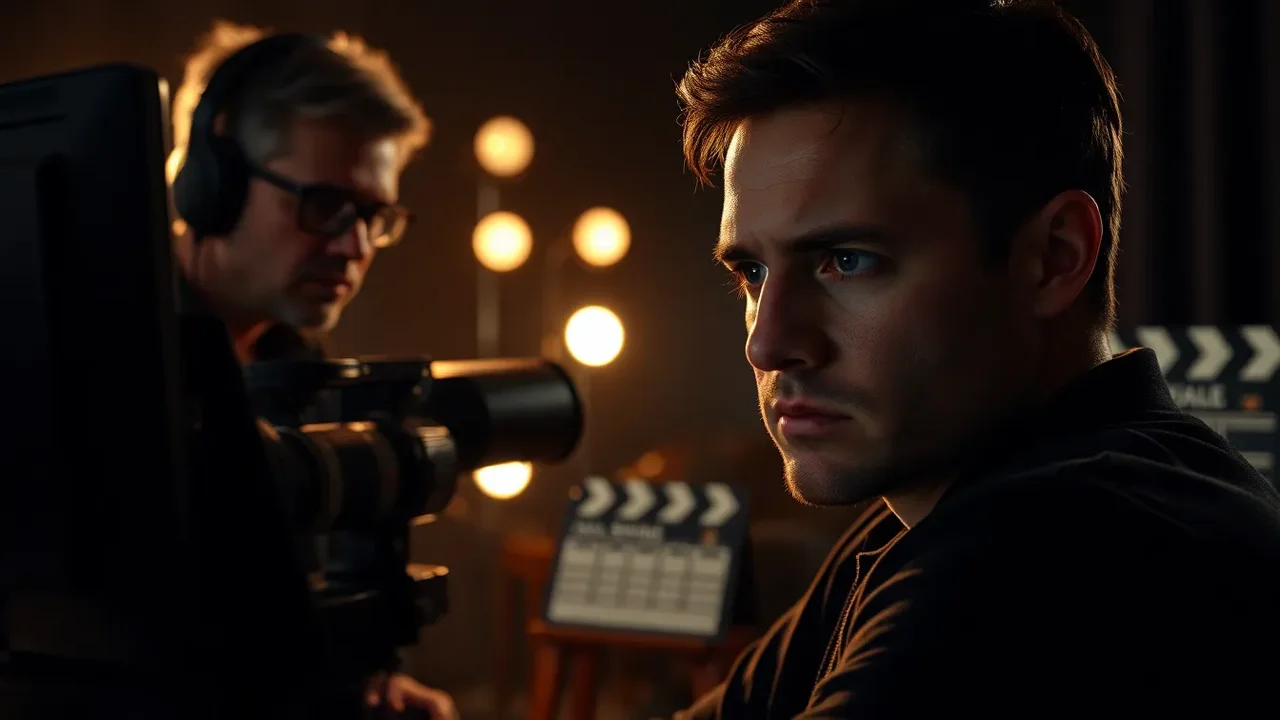
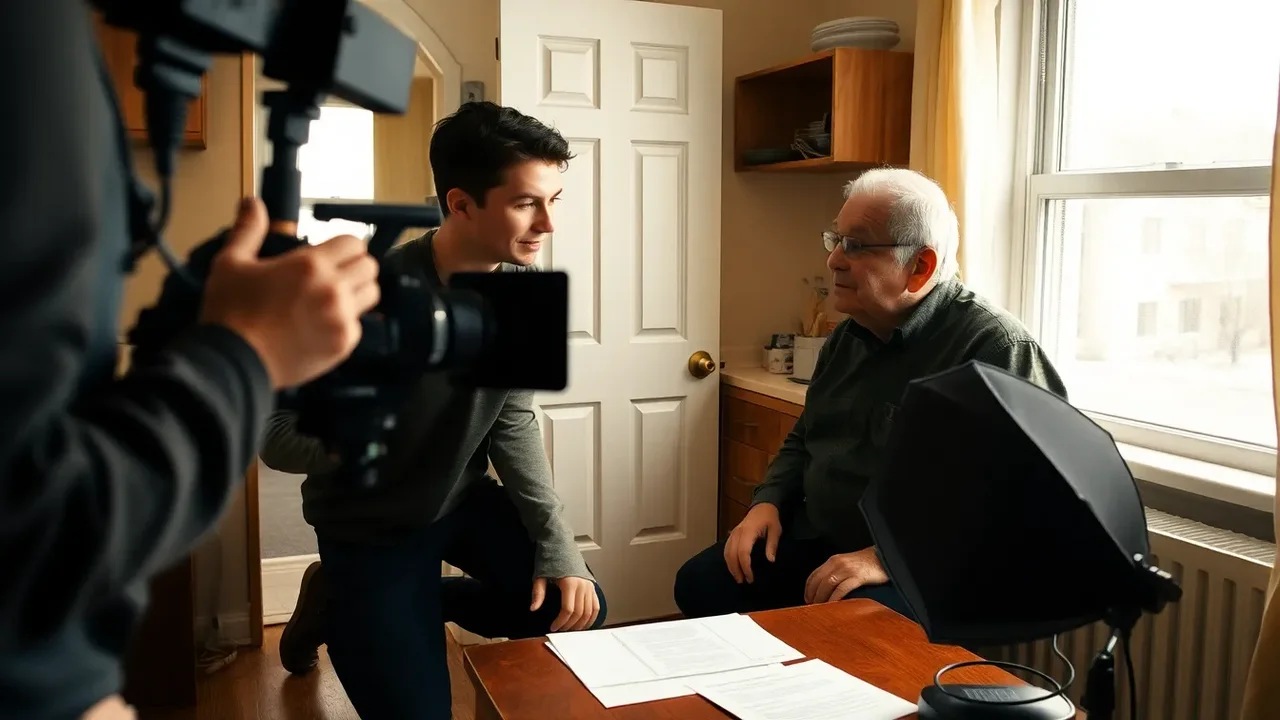
Why Visual Simplicity Wins in Drama Shorts
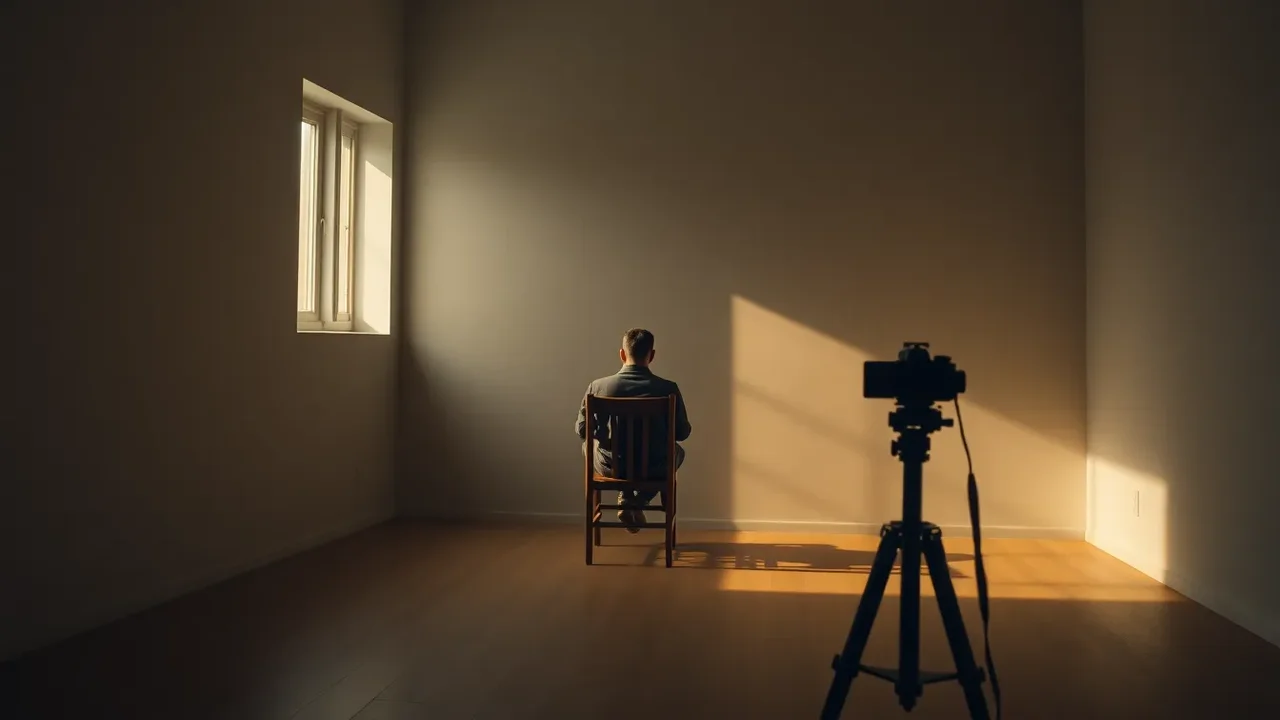
Visual simplicity in drama shorts is not about being plain or boring. It is about removing distractions so the story can breathe. When every frame is cluttered, the audience struggles to find the emotional center. A simple frame guides the eye directly to the actor's face, hands, or a meaningful object. That clarity creates immediate connection. Strong visuals come from contrast, not quantity. One well-placed lamp can say more than ten. One empty room can feel more tense than a crowded street. By limiting visual elements, you increase the weight of each choice. A red cup on a white table becomes a symbol. A closed door becomes a threat. Simplicity forces you to be intentional. It exposes weak storytelling because you cannot hide behind noise. It also speeds up production, reduces budget, and keeps focus on performance. In short, simple visuals make drama shorts stronger, not weaker.
The Psychology of Minimalism
Minimalism works because human attention is limited. The brain can only process a few visual elements at once. When you overload the frame, viewers miss subtle emotional cues. A single tear, a trembling lip, or a clenched fist gets lost in visual noise. By simplifying, you respect the audience's cognitive capacity. You allow them to feel rather than decode. Minimalism also creates a sense of realism. Real life often has empty spaces, plain walls, and quiet moments. Overly designed sets can feel theatrical. A simple bedroom with one lamp feels more authentic than a room packed with props. This authenticity builds trust. Trust makes the drama land harder. Minimalism also amplifies contrast. When most of the frame is neutral, a bright color or sudden movement becomes a powerful event. That event can carry the story's turning point. So simplicity is not an aesthetic choice alone; it is a psychological tool for emotional impact.
Core Principles of Strong Simple Visuals
First, prioritize the face. Drama lives in performance. Make sure the actor's eyes are always the brightest or most contrasty part of the frame. Second, use negative space deliberately. Empty areas are not wasted; they create tension and focus. Third, limit your color palette. Two or three colors can unify a short and make it look professional. Fourth, control light direction. A single source from the side creates depth and mood. Fifth, keep camera movement motivated. Move only when the story demands it. Sixth, design for the aspect ratio. Vertical shorts need different framing than horizontal films. Seventh, remove anything that does not serve the story. If a prop does not advance character or plot, cut it. Eighth, repeat visual motifs. A recurring object or color can tie scenes together without dialogue. Ninth, use silence and stillness. They are visual choices too. Tenth, test your frame in black and white. If it still reads, your composition is strong.
Composition for Emotional Clarity
Composition is the arrangement of elements in the frame. For drama shorts, clarity beats cleverness. Use the rule of thirds to place eyes on upper third lines. Use leading lines to draw attention to the actor. Use frames within frames, like doorways or windows, to create intimacy or isolation. Avoid centered compositions unless you want formality or confrontation. Pay attention to headroom and look space. Too much headroom feels empty; too little feels cramped. Look space should be larger in the direction the actor is looking, unless you want to suggest they are trapped. Use foreground elements to add depth. A blurred shoulder or a plant in front of the lens can make the scene feel three-dimensional. But keep foreground elements simple. A single out-of-focus object is enough. Remember that every compositional choice sends a message. Ask yourself: what does this frame say about the character's power, fear, or desire? If the answer is unclear, simplify until it is obvious.
Lighting: One Source, Many Moods
Lighting is the most powerful tool for visual strength. You do not need a truck full of equipment. One light and a reflector can create cinematic drama. Start with a single key light. Place it to one side of the actor's face. This creates shadow and depth. Use a white wall or a piece of foam board as a bounce to fill shadows if needed. But do not fill too much. Shadows are where drama lives. Use practical lights in the scene, like a lamp or a phone screen, to motivate the source. Practicals also add realism and color. Control the background. If the background is brighter than the actor, the eye goes there. Keep the background darker or less contrasty. Use negative fill, which means blocking light from one side, to increase contrast. This is free and powerful. For night scenes, avoid turning everything blue. Use warm practicals against cool moonlight for tension. For day scenes, use window light and sheer curtains. Move the actor, not the light, to shape the face. Remember: light reveals character. Every shadow should have a purpose.
Color: Restraint Creates Impact
Color is emotional shorthand. But too many colors create confusion. Choose a limited palette. For a tense drama, use desaturated blues and grays with one warm accent. For a romantic drama, use soft pastels and warm skin tones. For a thriller, use green and amber. Decide on two main colors and one accent. Dress the set, wardrobe, and props in that palette. This makes the short look designed and intentional. Use color to track character change. A character might start in cool tones and end in warm tones. Or the accent color might appear only when hope arrives. Avoid pure black and pure white. They clip and look digital. Use off-black and off-white. Use color contrast to separate actor from background. If the actor wears blue, put them against a warm background. If the actor wears red, use a neutral background. Skin tones should always look natural. Adjust white balance carefully. Do not rely on filters in post. Get it right on set. Color is not decoration; it is storytelling.
Camera Movement and Lenses
Camera movement should be invisible or motivated. In drama shorts, too much movement distracts from performance. Use static shots for dialogue and emotional beats. Let the actor move within the frame. When you do move, use slow pushes or pulls. A slow push in increases tension and intimacy. A slow pull out increases isolation and loss. Use handheld only for chaos, urgency, or subjective panic. But keep it subtle. Use a tripod or a simple stabilizer for most shots. Lens choice matters. A 50mm lens on a full-frame camera mimics human vision. It is a safe choice for drama. A 35mm lens shows more environment and can feel more active. An 85mm lens compresses the background and isolates the face. For vertical shorts, a wider lens can make small spaces feel larger, but it distorts faces at close range. Test your lens before shooting. Know how it renders skin and space. Clean your lens. A dirty lens ruins a simple frame. Finally, do not zoom. Zooming feels artificial and draws attention to the camera. Move the camera instead, or move the actor.
Production Design: Less Is More
Production design in a simple drama short is about editing reality. You do not need to build a set. You need to remove distractions. Start with a location that already has the right mood. A plain apartment, a quiet park, a parking garage, or a laundromat can work. Then remove anything that does not belong to the character's world. Take posters off walls. Clear countertops. Remove logos and brand names. If a wall is too busy, paint it or cover it with a plain fabric. Use one or two key props that carry meaning. A wedding ring, a letter, a broken watch, or a suitcase can tell a story without words. Place props deliberately. They should be visible when needed and hidden when not. Use negative space on walls. An empty wall can feel lonely or peaceful depending on lighting and performance. Avoid matching furniture sets. A mismatch can feel real. Use texture to add depth: brick, wood, concrete, or fabric. But keep textures consistent. Too many textures create visual noise. Remember that every object in the frame is a character. If it does not have a role, cut it.
Wardrobe and Makeup
Wardrobe should support character, not distract. Choose solid colors over busy patterns. Stripes, logos, and small prints can cause moiré and pull focus. Use clothing that fits the character's economic and emotional state. A wrinkled shirt says something. A perfectly ironed shirt says something else. Limit changes. In a short, the audience needs to recognize the character instantly. If the character changes clothes, make the change meaningful. Use color to track arc. For example, start in gray and end in a warm color. Avoid pure white and pure black unless you have controlled lighting. They can blow out or crush. Makeup should look natural unless the story calls for stylization. Shiny skin is a common problem. Use powder to reduce hotspots. But do not over-powder. Keep continuity in mind. If a character gets wet or injured, the wardrobe and makeup must progress logically. Prepare duplicates of key items. A bloody shirt needs a clean version for earlier scenes. Test wardrobe under your lighting. What looks good in daylight may look different under tungsten. Finally, let the actor feel comfortable. Discomfort shows on camera.
Props and Motifs
Props are physical storytelling. A single prop can replace pages of dialogue. Choose props that are specific and personal. A generic coffee cup is forgettable. A chipped mug from a dead parent is memorable. Introduce the prop early. Let the audience see it in a neutral context. Then use it later to trigger emotion. This is called setup and payoff. Keep props simple. A phone, a key, a photograph, a knife, or a letter can all work. Avoid props that require explanation. If you need a line of dialogue to explain a prop, it is too complicated. Use visual motifs to connect scenes. A motif is a repeated visual element. It could be a color, a shape, a gesture, or an object. For example, every time the character lies, a red car passes in the background. Motifs create a subconscious thread. They make the short feel cohesive. But do not overdo it. One or two motifs are enough. Too many become a puzzle. Also, keep props consistent. If a glass is half full in one shot, it should not be full in the next. Continuity errors break immersion. A simple visual world is easier to control, so use that to your advantage.
Locations: Find, Do Not Build
For short dramas, practical locations are your friend. They are cheap, realistic, and full of texture. Scout locations with your camera. Take test shots at the same time of day. Look for natural light. A window with sheer curtains can be a complete lighting setup. Look for background control. You do not want a busy street behind an emotional scene unless the busyness is part of the story. Look for sound. A location that looks great but sounds terrible will ruin the drama. Listen for traffic, air conditioning, neighbors, and echoes. If you must shoot in a noisy place, plan to replace dialogue in post. But that adds work. Choose locations that allow you to simplify. A single room can become multiple spaces with different angles and lighting. A hallway can be a transition. A bathroom can be a place of confession. Use the location's architecture. Doorways, stairs, and corners create natural frames. Do not fight the space. Work with it. If a room is small, use wide lenses and tight shots. If a room is large, use negative space to show isolation. Always get permission. Always leave the location as you found it. Respect helps you get future locations.
Editing: Rhythm and Restraint
Editing is where simple visuals become strong. In a drama short, the cut should serve emotion. Do not cut too often. Let shots breathe. A long take on a face can be more powerful than ten quick cuts. Use cuts to control time and emphasis. Cut on action when you want energy. Cut on dialogue when you want reaction. Cut on silence when you want tension. Use match cuts to connect ideas. A match cut on shape, color, or movement can link two scenes without explanation. Avoid flashy transitions. No wipes, spins, or zooms. Use straight cuts and maybe a few dissolves for time passing. Pay attention to eyeline. If two characters are talking, their eyelines must match. If they do not, the audience feels disconnected. Keep continuity in mind. Simple visuals make continuity easier, but you still need to check. Use sound to smooth cuts. A consistent room tone can hide audio edits. Use music sparingly. Music can tell the audience how to feel, but it can also overpower subtle performance. Let silence do work. A sudden absence of sound can be more dramatic than a loud score. Finally, watch your edit without sound. If the story still reads, your visuals are strong.
Sound Design as Visual Support
Sound is half of the visual experience. Even in a visually simple short, sound can add depth and tension. Start with clean dialogue. Use a lavalier microphone or a boom. Bad audio makes a short feel amateur, no matter how good it looks. Record room tone for every location. Room tone is the ambient sound of a space. It helps you smooth edits. Use foley for footsteps, cloth, and props. These small sounds make the world feel real. Use sound to direct attention. If you want the audience to look at a prop, add a subtle sound when it appears. Use silence to create unease. Drop all sound for a moment before a reveal. Use low-frequency rumble to create dread. Use high-frequency ringing to suggest stress. But do not overdo it. A simple sound design is better than a cluttered one. Match the visual simplicity. If the frame is minimal, the sound can be minimal too. One repeated sound can become a motif. A ticking clock, a dripping faucet, or a distant train can tie scenes together. Always mix on headphones and then on speakers. Check on a phone speaker, because many viewers watch shorts on phones. If the dialogue is clear and the mood is felt, your sound design is working.
Directing Performance for Visual Strength
Performance is the heart of drama. Simple visuals give performance room to breathe. Direct actors toward subtlety. Ask them to think rather than show. A thought is visible on camera. Encourage them to listen. Listening is more powerful than talking. Use close-ups to capture micro-expressions. But do not overuse close-ups. A medium shot can show body language. A wide shot can show isolation. Give actors clear objectives. What do they want in the scene? What is in their way? Use active verbs. To convince is better than to be sad. Rehearse before shooting. Rehearsal saves time and builds trust. Block the scene so that movement is motivated. Let actors move naturally. Do not over-choreograph. Capture multiple takes. The first take is often tense. The third or fourth take is often more relaxed. But do not exhaust the actor. Know when to stop. Protect the actor's dignity. Drama requires vulnerability. Create a safe set. No yelling. No rushing. No mocking. A calm set produces better performances. Finally, trust your actor. If they offer something unexpected, consider it. The best moments are often accidents. Simple visuals make those accidents visible. If the frame is cluttered, you might miss them.
Practical Workflow for a Simple Short
Start with a script that can be shot simply. Limit locations to one or two. Limit characters to two or three. Limit time to one day. Write for available light. Write for silence. Write for faces. Create a shot list. A shot list is a list of every shot you need. Keep it short. For a three-minute short, you might need fifteen to twenty shots. Storyboard only the complex shots. Use stick figures. Do not over-plan. Leave room for discovery. Scout and test. Shoot a test video with your phone. Check lighting, sound, and framing. Prepare a simple kit. One camera, one lens, one light, one reflector, one microphone, one tripod. That is enough. Bring batteries, cards, tape, and water. Keep the crew small. A crew of two or three can move fast and stay quiet. Assign roles. One person handles camera. One handles sound. One handles everything else. Communicate clearly. Use a clapper or hand clap to sync audio. Slate every take. Log your footage. Back up your footage immediately. Do not delete anything until the edit is locked. Edit with a clear mind. Watch your first assembly without stopping. Then refine. Cut anything that does not serve the story. Simple visuals make editing easier because there is less to fix. Finally, export in the right format. Vertical for social media, horizontal for film festivals. Keep the file size reasonable. Upload and share.
Common Mistakes That Weaken Simple Visuals
Even with good intentions, filmmakers make mistakes that weaken simple visuals. One mistake is confusing simplicity with laziness. A simple frame still needs careful composition and lighting. Another mistake is using too many close-ups. Close-ups are powerful, but without context they become monotonous. Another mistake is ignoring the background. A simple subject against a messy background is still messy. Another mistake is using mixed color temperatures. If a window is daylight and a lamp is tungsten, the frame looks amateur. Another mistake is moving the camera without reason. Unmotivated movement distracts. Another mistake is over-lighting. Filling every shadow removes drama. Another mistake is under-lighting. If the audience cannot see the face, they cannot feel. Another mistake is bad audio. Poor sound ruins the illusion. Another mistake is inconsistent props. A missing ring or a different cup breaks continuity. Another mistake is over-editing. Too many cuts create confusion. Another mistake is using music to cover weak visuals. Music should enhance, not hide. Another mistake is ignoring the aspect ratio. Framing for horizontal and posting vertical cuts off important information. Another mistake is not testing on a phone. Most viewers watch on phones. If it does not read on a small screen, it does not work. Avoid these mistakes by slowing down and checking each frame.
Table: Simple vs. Cluttered Visual Choices
| Element | Simple Choice | Cluttered Choice |
|---|---|---|
| Lighting | One motivated source with contrast | Multiple unmotivated sources with flat fill |
| Color | Two main colors plus one accent | Many saturated colors competing |
| Set | Empty walls, one meaningful prop | Busy posters, many props, logos |
| Camera | Static or slow motivated moves | Handheld chaos, zooms, constant motion |
| Wardrobe | Solid colors, character-driven | Busy patterns, logos, frequent changes |
| Editing | Long takes, cuts on emotion | Fast cuts, flashy transitions |
Checklist for Keeping Drama Shorts Visually Simple but Strong
- Write a script that needs few locations and few characters.
- Choose a limited color palette and stick to it.
- Use one key light and shape with shadows.
- Compose for the face and use negative space.
- Remove all props that do not serve the story.
- Dress actors in solid colors without logos.
- Move the camera only when motivated.
- Record clean dialogue and room tone.
- Edit with long takes and emotional cuts.
- Test every frame on a phone screen.
Final Thoughts on Visual Discipline
Limit locations, colors, and camera moves. Limitations change your storytelling. They make you more creative. They force you to solve problems with performance and light. A simple short can be shot in a weekend and edited in a week. That speed lets you make more work. Do not wait for a big budget. Use what you have. A phone, a window, and a willing actor can create a powerful drama short. The audience cares about story and feeling, not equipment. Simple visuals remove the barrier between them and the emotion. Always keep it simple, keep it strong.
FAQ - Keeping Drama Shorts Visually Simple but Strong
Why is visual simplicity important in drama shorts?
Visual simplicity removes distractions so the audience can focus on performance and emotion. It makes every visual choice more powerful and helps the story land quickly, which is essential for short formats.
How can I light a drama short with only one light?
Place one key light to the side of the actor's face to create shadow and depth. Use a reflector or white wall for minimal fill, but keep shadows visible. Control the background by keeping it darker than the actor.
What should I avoid in production design for a simple short?
Avoid busy walls, logos, too many props, and mixed color temperatures. Remove anything that does not serve the character or plot. Use one or two meaningful props and a limited color palette.
How do I keep camera movement from distracting?
Use static shots for dialogue and emotional beats. Move the camera only when motivated, such as a slow push in for tension or a slow pull out for isolation. Avoid zooms and unnecessary handheld motion.
What is the best way to test if my visuals are strong?
Watch your edit without sound and on a phone screen. If the story and emotion still read clearly in black and white or on a small display, your composition, lighting, and visual storytelling are strong.
Keeping drama shorts visually simple but strong means removing distractions so performance and emotion lead. Use limited colors, one motivated light, meaningful props, and static or slow camera moves. Test frames on a phone and without sound. Simplicity increases impact, speeds production, and makes every visual choice count.
Keeping drama shorts visually simple but strong is about intentional restraint. By limiting colors, props, locations, and camera moves, you force every frame to carry emotional weight. This approach saves time and money while making performances more powerful. Start with one light, one meaningful prop, and one clear emotion. Remove anything that does not serve the story. Test your visuals on a phone and without sound. If the drama still lands, you have achieved simplicity that is not weak but unforgettable.